Growing Peppers from Seed
Our Top 12 Tips

1. Use Fresh Pepper Seeds
When perfectly stored, pepper seeds can be viable for up to 25 years, but generally 2-5 years is more realistic for good germination rates. The older the seeds get, the less likely they will sprout. Store seeds in a cool, dark, dry environment. Remember, seeds are meant to be grown, so plant them! Of course we still plant old seeds (a few years old) all the time, because they can still sprout. Just be aware that the germination rate will be lower (less seeds will sprout), and older seeds can take longer to germinate.

2. To germinate, keep pepper seeds consistently warm and moist, 80-90˚ F is ideal for most successful germination. Use a seedling heat mat to bring the temperature up, and don't try germinating peppers in a cold room or greenhouse as the temperatures could drop which lowers your chance of success.
Once your pepper seeds have germinated, you can turn the temperature down – indoor pepper plants like temperatures between 70°F to 80°F during the day, and 60°F to 70° F at night.
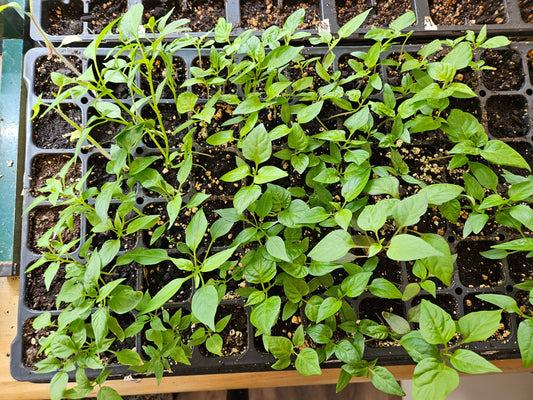
Thin seedlings so they don't crowd each other, one plant per pot is recommended. We often try to gently pull or separate out the extra pepper seedlings out and then plant them into more pots if we have the space!

3. Be patient.
Some super hot pepper seeds are slow to germinate and can take up to 4-6 weeks to germinate, while many of the fastest growing peppers take 7-10+ days. This is even when kept super warm, so don't give up on them. Peppers are one of the slowest starting vegetable seeds, they just take their good ol' time.

4. Start Peppers indoors 6-8+ weeks before the last frost date.
Some of the hottest peppers can take extra long to germinate and grow, so you can start them indoors about 12+ weeks out if desired!
All peppers like warm weather, so keeping them indoors until it's warmed up to about 60-70˚ F at night is important. Peppers are very frost sensitive and get stunted in temperatures below 50˚ F or in cold soil. You can start them even earlier IF you have the room indoors to keep them warm and cozy until all chance of frost has passed and the temperatures warm up to a consistent 60˚ F+ at night. Most peppers will have stunted growth if in cold temperatures below 50˚ F. If you keep them growing indoors longer, just make sure to pot them up as their roots grow so they don't get root bound in the container.
Note: The purple-toned pepper seedling above is normal, some pepper varieties especially purple ones tend to have purple stems and leaves at first when grown outdoors. Most peppers will typically revert to green once outside in the full sun (though they may retain purplish-stems).

This is a common mistake by many gardeners, experienced or not. We tend to overwater seedlings – and peppers hate wet, soggy roots. So make sure to let the soil dry out a bit between watering your pepper plants.
Make sure to use well-draining seedling mix in pots with plenty of drainage. When starting pepper seeds, we do not recommend using Jiffy Pots or peat for starting pepper seeds, as they just don't seem to like to germinate well in peat – perhaps because it dries out too fast and it's hard to keep them consistently moist without being soggy. We like to use a fresh seedling starter mix such as Coast of Maine's which performs very well with all pepper seeds.
Learn more about the best soil for peppers »
If you see yellow leaves on your pepper plants, and they are starting to droop, this is often a sign that the soil is too soggy – make sure to let the soil dry out a bit between watering. Your peppers will be much happier! Don't "overlove" them with too much water!

Pinch off the first few blossoms on your pepper seedlings to encourage them to put their energy into growing stronger roots and foilage, so you'll have more peppers later. This first pepper blossom is also known as the gateway flower, it's wise to pinch it off so that the plant will grow larger before diverting to pepper creation.
7. Give them a breeze or a brush with your hands.
Once sprouted, you can encourage your pepper seedlings to grow stronger, thicker and stockier by simply brushing the seedlings with your hands daily, or by adding a fan for a light breeze on the peppers for a few hours a day. In addition to growing stockier, this will help prevent damping off, a common ailment of seedlings that causes them to wither and die after sprouting.

Using a fan for seedlings is an excellent idea!
Learn more about Weak Pepper Seedlings »

8. Harden Off Pepper Plants before planting outdoors.
This means if you have started them indoors you should bring them out for a few hours a day, working up to a full day and eventually overnight over a week period (or 10 days if you have time). This will acclimate the outdoor weather, sun, breezes, etc so they won't be shocked when transplanting into the garden or outdoor container.

Learn more about Hardening Off Seedlings »

9. Plant in Full Sun!
Make sure the pepper plants get full sun, at least 6-8 hours of sunlight is best. We find that peppers also can do well with dappled shade for a part of the day, as long as they get 6-8 hours of good sunlight paired with warm weather.
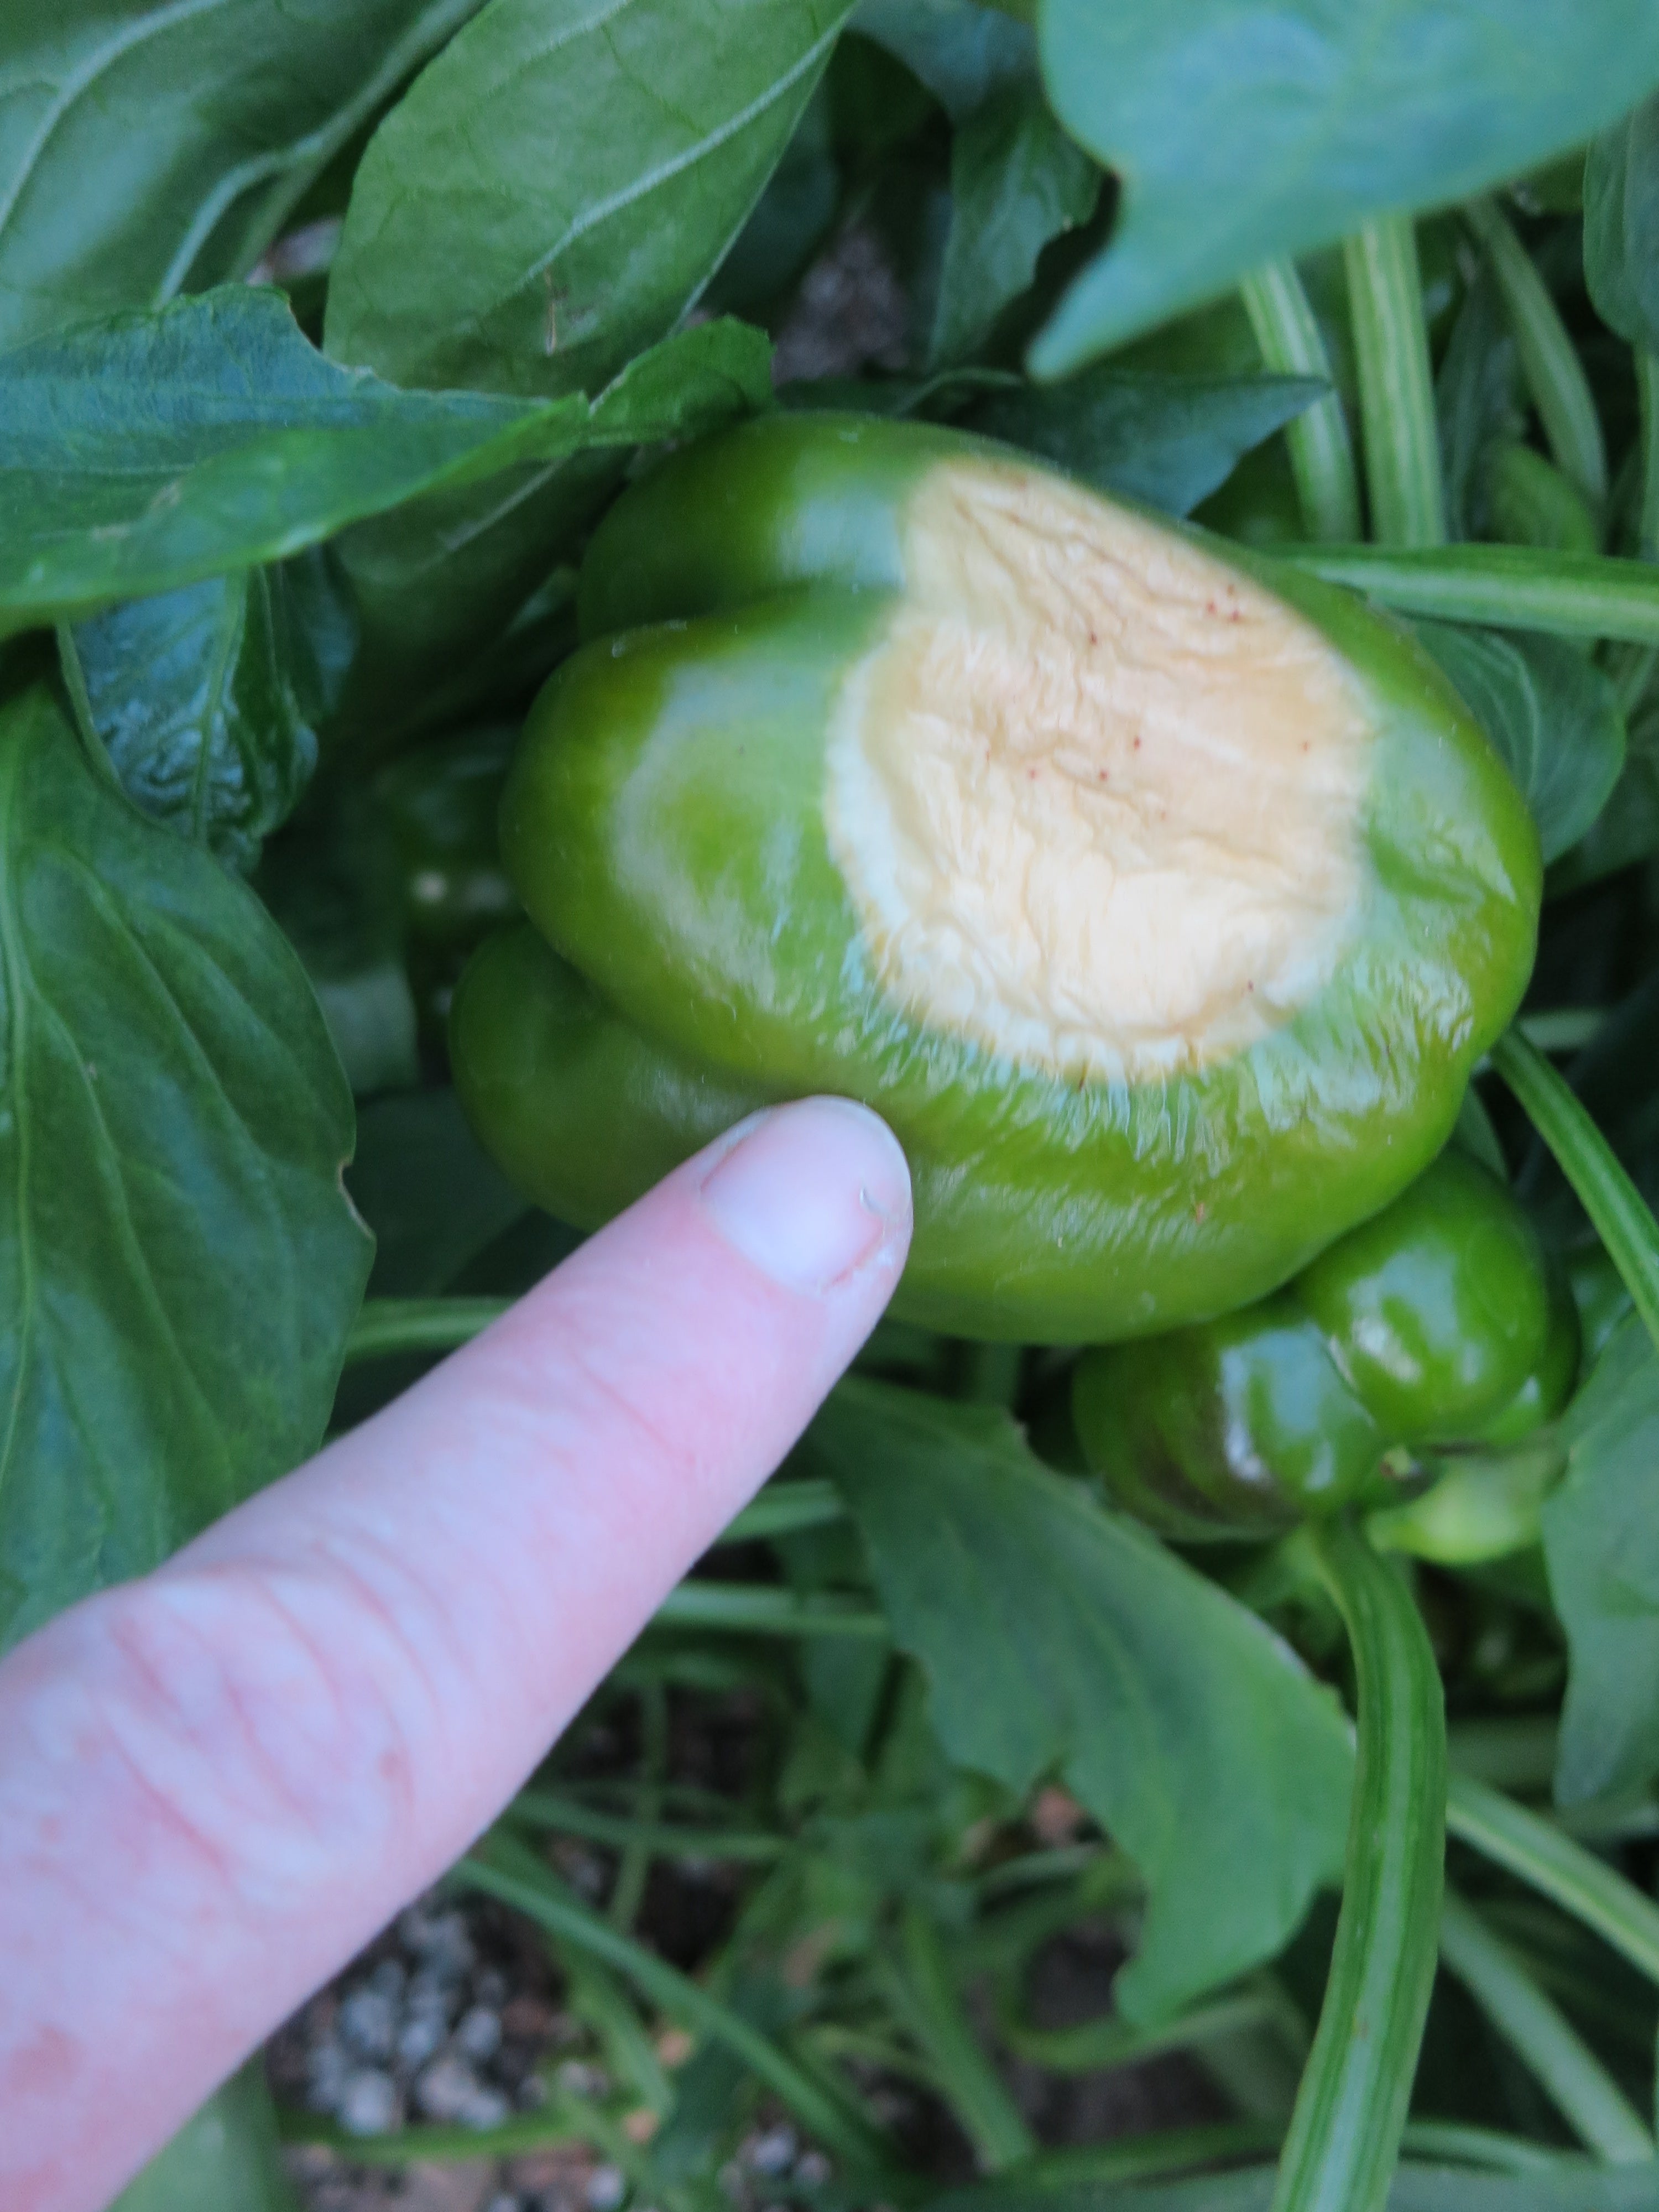
Speaking of sun, do you ever get white spots on your peppers?
If you're getting a lot of sunscald on your peppers, grow pepper companions like bush beans around your peppers to keep the peppers from getting exposed to too much sun. A bonus of growing beans along with your peppers is that they naturally add nitrogen to the soil via their nitrogen fixing root nodules that transform environmental nitrogen into nitrogen underground that benefits other vegetables like peppers. This type of natural soil nutrition is better than using store-bought high-nitrogen fertilizers, which can cause pepper plants to just grow bushy and not produce pods. Read on...

10. Don't Over-fertilize with Nitrogen:
Avoid high nitrogen fertilizers later in the season. They create lush foliage, but few peppers. Peppers are light feeders, but will benefit from a regular feeding of a well-balanced, organic fertilizer or compost tea. Homemade compost is also highly recommended for adding to your soil in your garden every year to keep it packed with natural nutrients that slowly release and feed your plants over time.
11. Plant Lots of Flowers Near Your Pepper Garden
Do your pepper plants have flowers but no peppers? Pollination is key to growing successful peppers, and while peppers can self-pollinate with the wind, pollinators can really help seal the deal. Invite pollinator bees and attract beneficial insects by growing lots of natives and flowers in your garden. Don't use pesticides! Make sure the peppers are grown in a spot with good air circulation and spaced properly. There are also other reasons that peppers have flowers but no peppers such as extreme temperatures.
Learn more about Pepper Pollination »

12. Pepper Harvesting
Many peppers are harvested at an immature stage such as the traditional bell pepper – it's harvested green, even though most varieties will mature to red, purple, orange, or yellow. Chile peppers can be harvested at any stage of growth, but their flavor doesn't fully develop until maturity. We encourage you to taste one pepper, if it still tastes green, let it ripen for another week or so before trying another pepper for the desired ripeness and flavor. Many chile peppers' flavors are intensified by roasting!
Learn more about When to Pick Peppers »
How To Grow Peppers »
Growing peppers from seed is very rewarding! Sandia Seed sells all sorts of easy-to-grow Hatch chile seeds, green chile seeds, super hot pepper seeds, hot pepper seeds & sweet pepper seeds.

Grow peppers in pots!
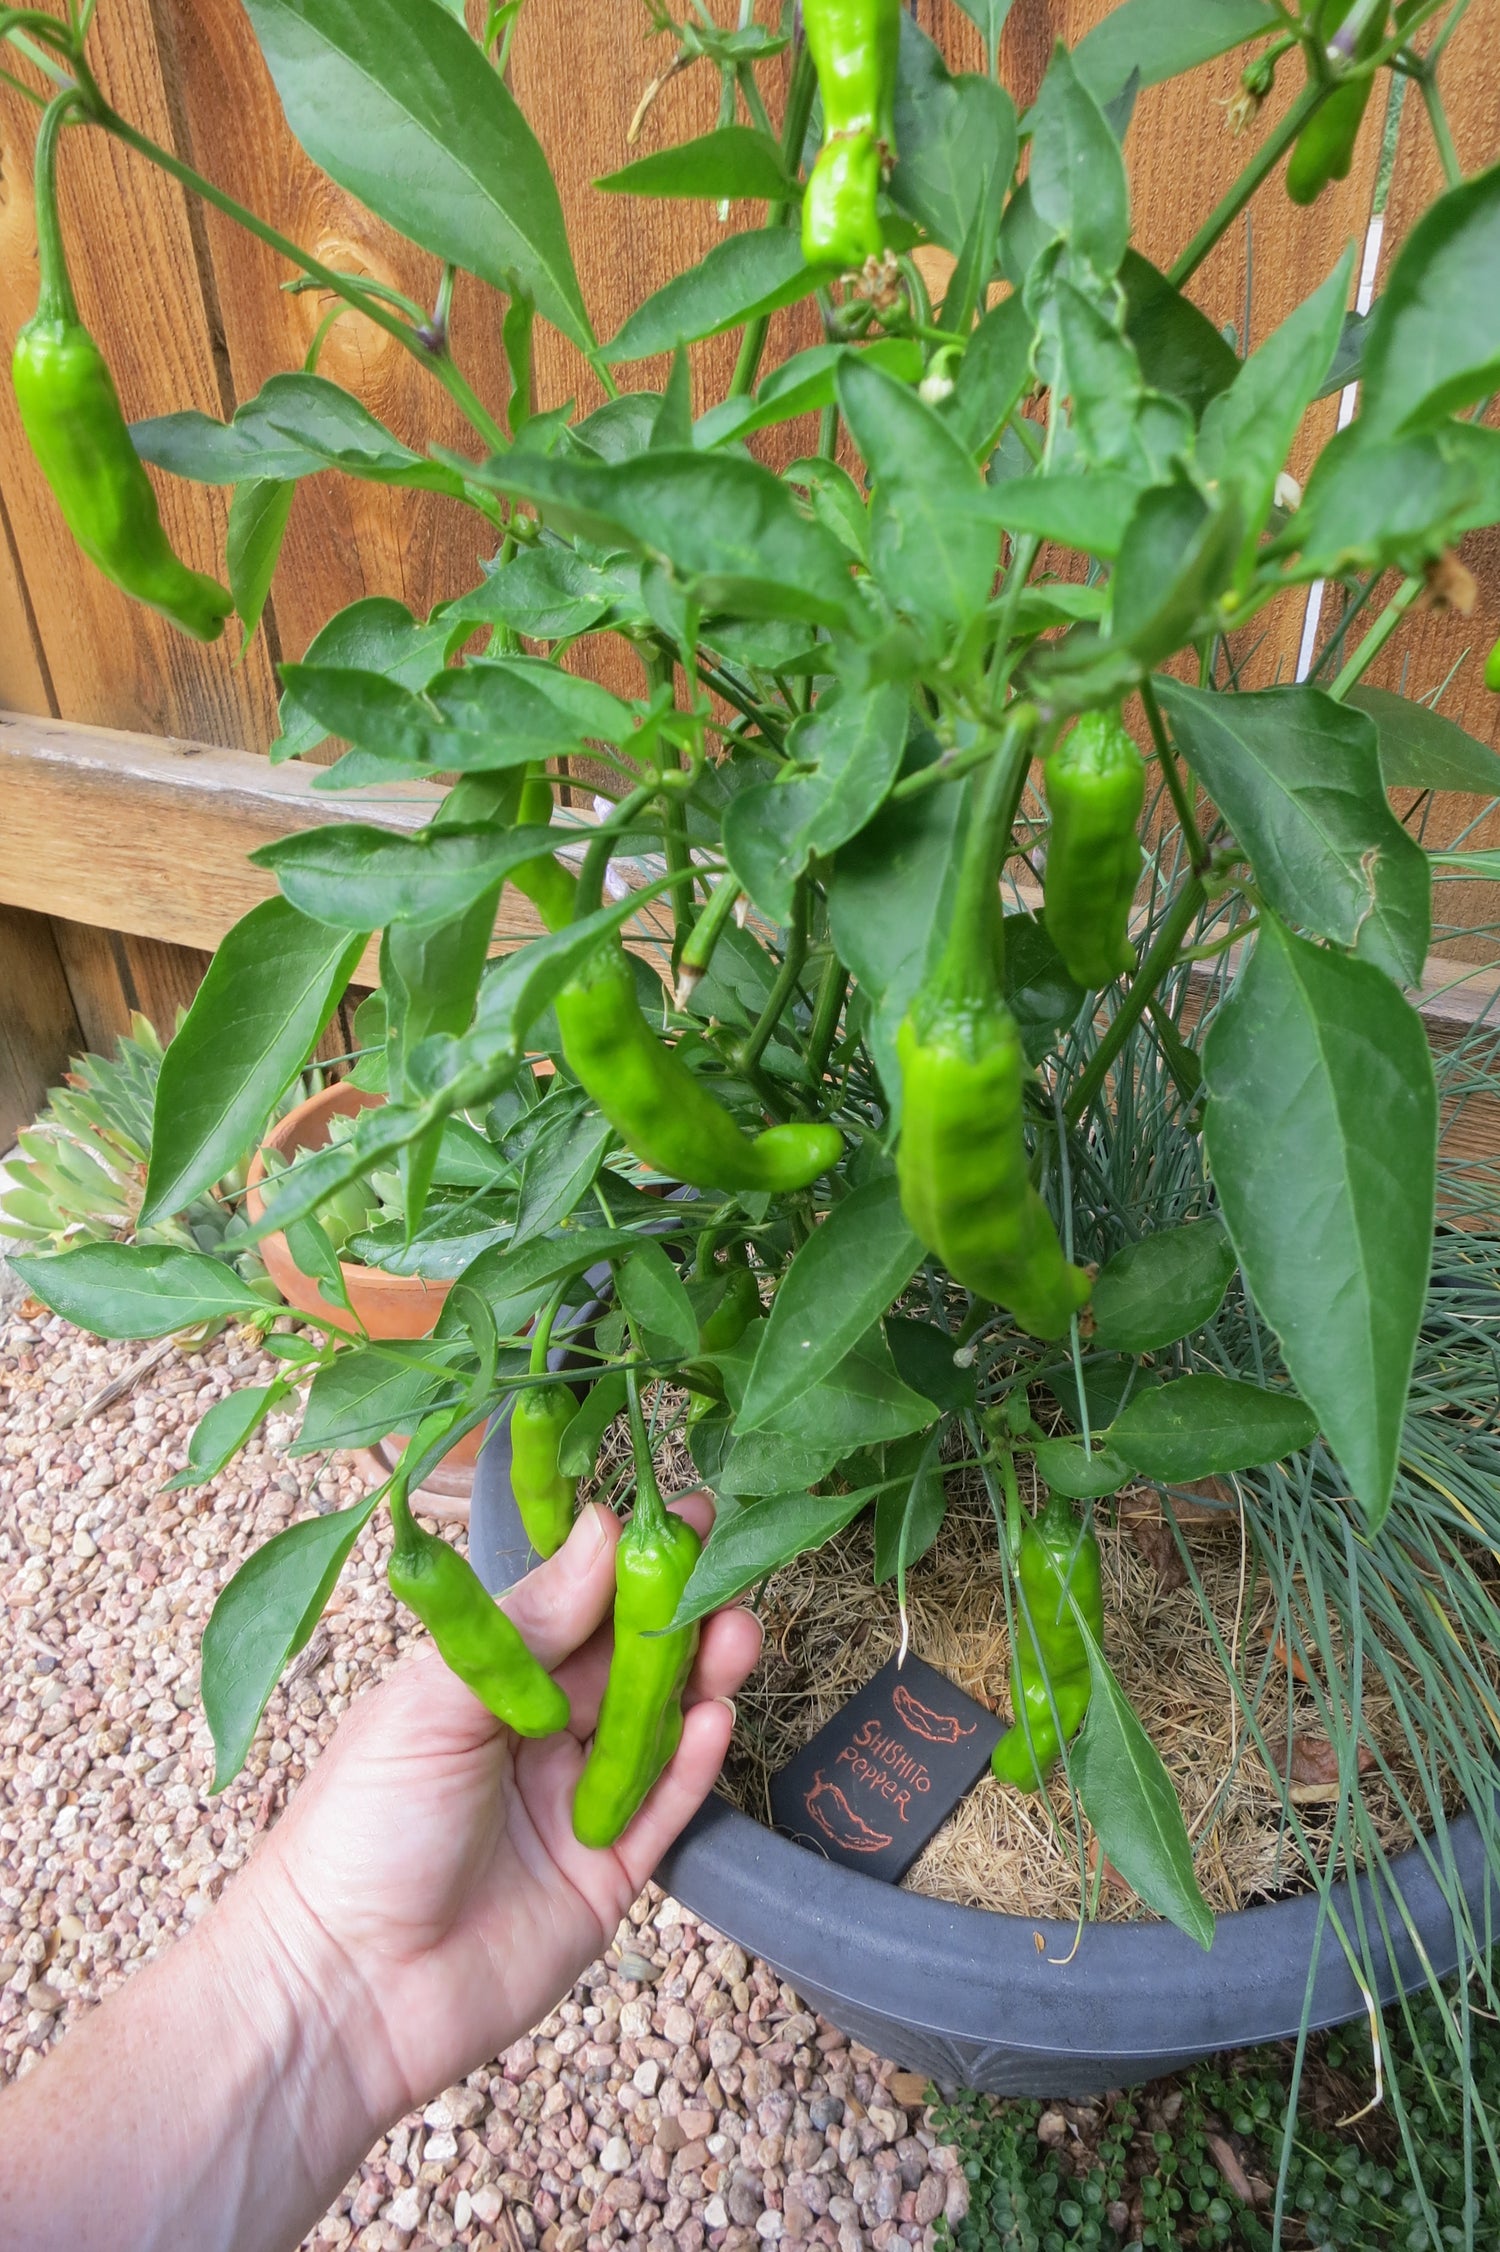
Peppers grow wonderfully in containers. One great reason to grow peppers in pots is that they are cold-sensitive plants, so if you have a late spring frost or an early autumn frost, you can bring in your potted pepper plants to a warm sheltered location to keep them from being frozen.
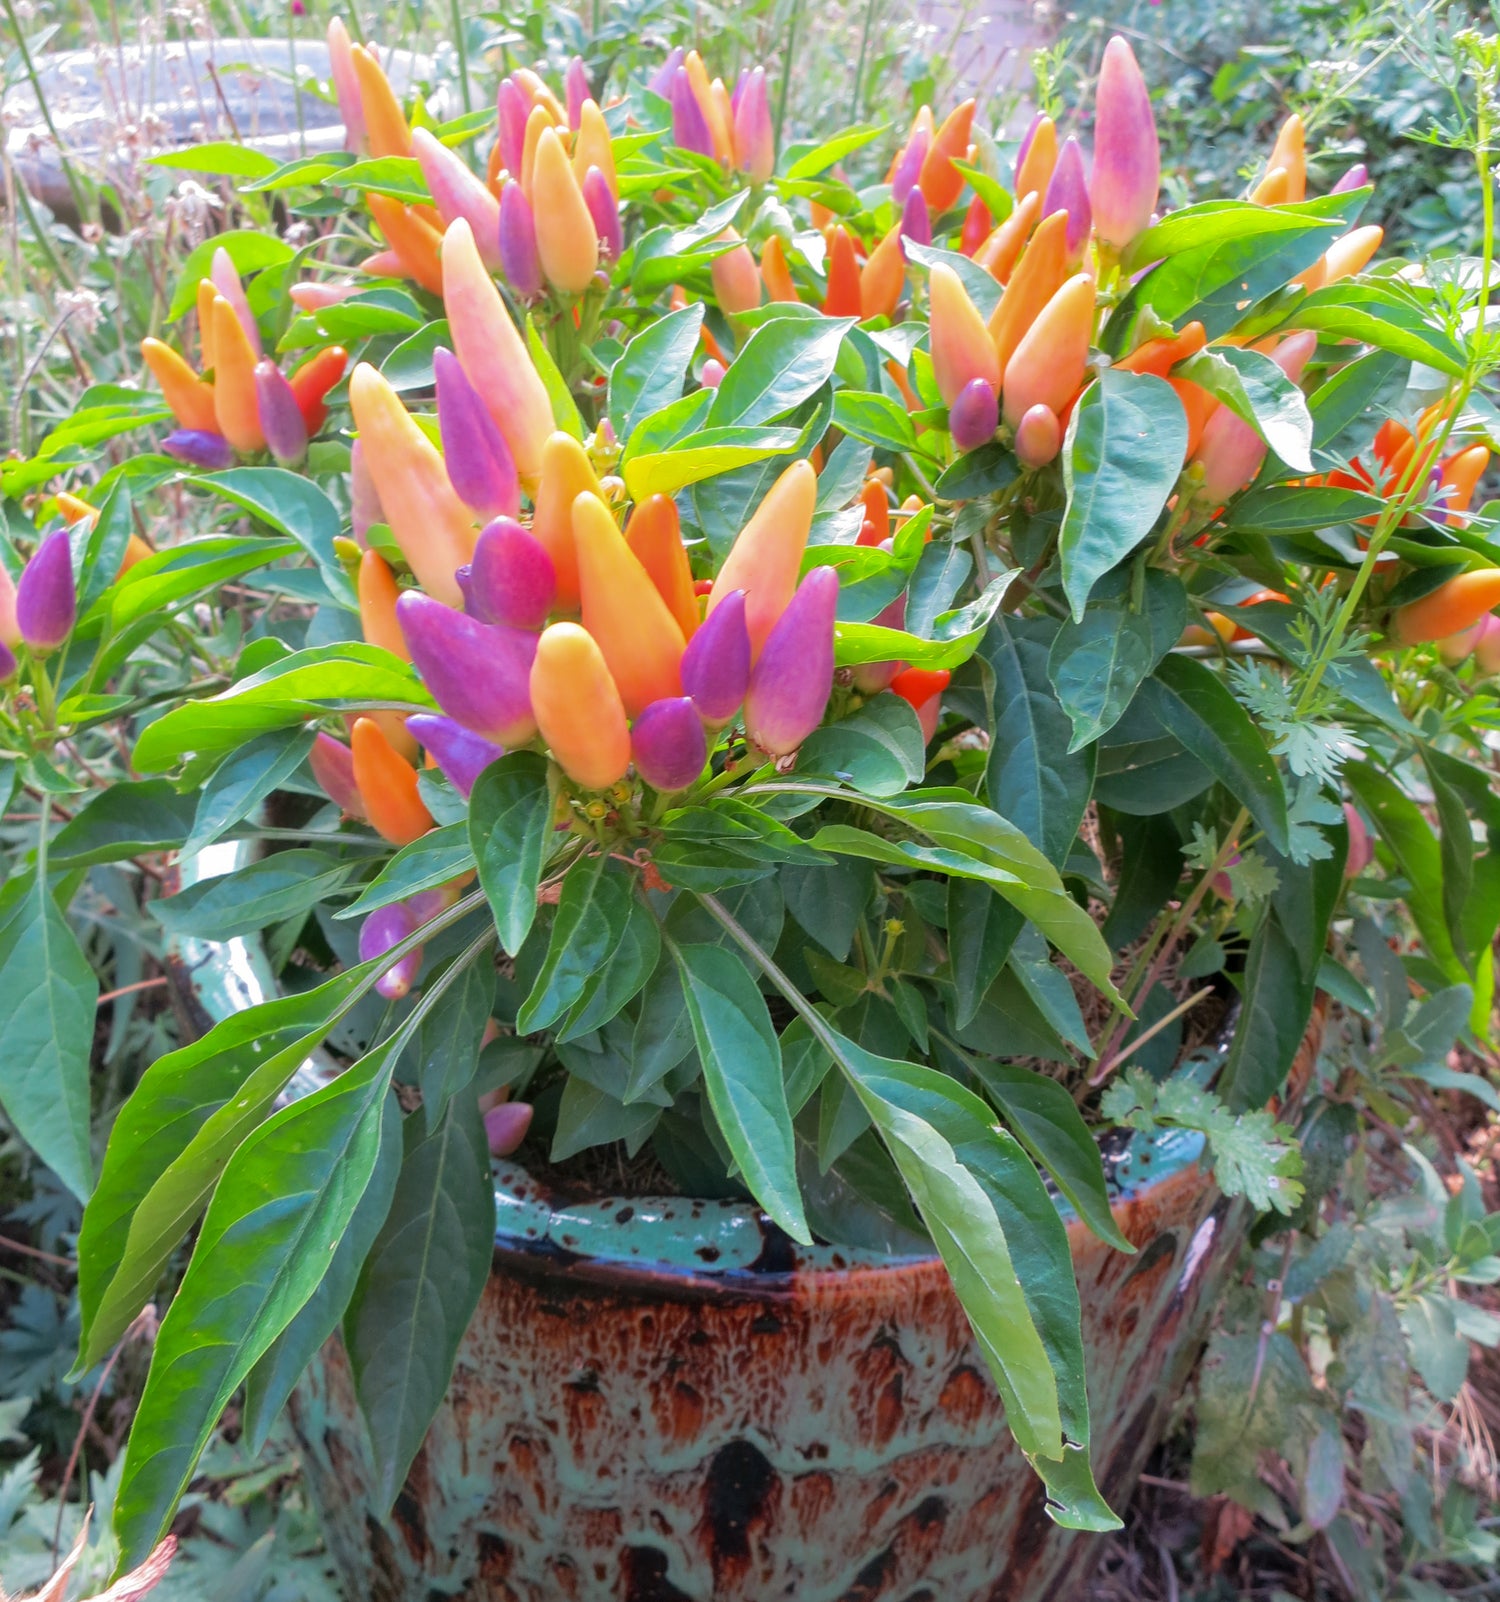
Here are some of the best peppers to grow in pots.

Check out all of our other blog posts about growing peppers:
Can seedlings get too much light?
Can peppers survive 40 degree weather?
Why didn't my pepper seeds germinate?
How to Grow Carolina Reaper
How Often to Water Pepper Plants in Pots
Best Peppers to Grow in Containers
Container Size for Peppers
How to Prune Pepper Plants for Maximum Yield
Fresh vs Dried Pepper Names
Hatch Chile Seeds
What is a Hatch Chile?
Are Hatch Chiles Heirlooms?
What are the best peppers to grow indoors?
Best Peppers to Grow
Pepper Plant Companions
Composting for Peppers

Best Peppers for Containers »

Pepper Plant has Flowers but No Peppers?
This is not uncommon, and is actually normal when pepper plants are young. It can also be caused by temperature extremes such as too cold: under 60˚ F, or too hot: over 90˚F. If your plant has no flowers either, you may be feeding it with too much nitrogen which causes bushy growth but no flowers.
Read more about peppers with flowers but no peppers »
Happy growing!!


