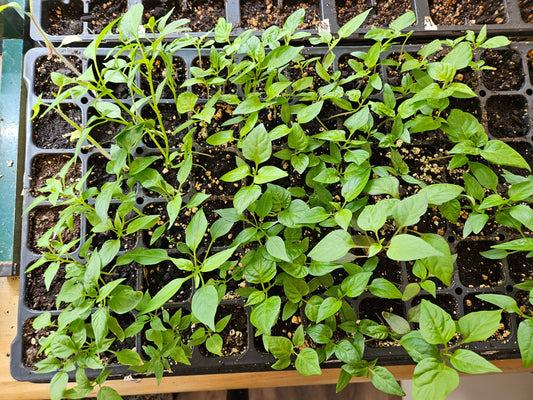
How To Grow Peppers
Growing peppers from seed is very rewarding! Sandia Seed sells over 100 peppers from around the world including many easy-to-grow Hatch chile seeds, green chile seeds, hot pepper seeds & sweet pepper seeds.
Here are some of our tips for growing your own peppers:
WHERE TO GROW
All peppers prefer a long warm growing season. This means that outdoor growing in the U.S.A. may only be suitable to regions 5-11. Raised beds or large containers are ideal because the soil will be much warmer. You can grow peppers anywhere where you can grow other vegetables and herbs like basil, tomatoes and squash.

Peppers like Full Sun:
It is important to choose an area of the garden that receives a minimum of 6-8 hours of sunlight. The more sunlight, the more chiles! Peppers can be grown indoors if ideal conditions can be met. This will likely mean grow lights in a room separated from the rest of the house so temperatures and humidity can be kept high.
 Where can you grow peppers around the world?
You can grow Hatch chile, hot peppers and sweet peppers all over the United States. We have customers growing our chile seeds everywhere from Florida to Alaska (if started early indoors). Wherever you can grow vegetables like tomatoes, you can grow peppers.
Check out these two photos from one of our customers growing a large plot of Big Jim Green Chiles in Wyoming, look at that impressive harvest!
We do recommend starting peppers indoors. If you have a shorter growing season this is a must do in order to get nice sized plants growing before the weather warms up. Then transplant them outside with their nice healthy root systems established.
Read one of our customer review of growing Big Jim Chiles in Canada »

WHEN TO START PEPPER SEEDS
We usually start our seeds indoors about 6-8 weeks before the last frost date. Peppers only like warm weather, so keeping them indoors until it's warmed up to about 60-70˚ F at night is best – they don't like to be cold and are very frost sensitive.
Is there a cooler-weather tolerant pepper?
If you live in a cooler zone such as the mountains, you can also try the one pepper that tolerates cooler temperatures and even partial shade: the beautiful & spicy orange Aji amarillo, which is native to the Andean mountain slopes. We also sell the Bulgarian Carrot Pepper seeds, a variety that came to America in the 1970's and is well adapted to the cool Scandinavian climate. It's easy to see how this heirloom pepper got its name. The long tapered orange fruits might fool one into thinking it is a sweet carrot, but that is not the case at over 12,000 Scoville Heat Units!

PLANTING THE SEEDS
Germinating seeds is the first obstacle when trying to grow peppers. They germinate much slower than tomato and lettuce seeds, for example. For best results, it is good to sow your seeds indoors in a consistently warm environment. Soak the seeds in water overnight before planting.
Sow one seed in each seedling tray compartment about 1/4” deep into the pre-moistened seedling mix. We also have had good success starting pepper seeds hydroponically (in water). Provide constant bottom heat, such as from a heating pad.
The secret to germinating chile pepper seeds is to keep them warm! The soil temperature must remain between 80° F – 90° F for the most successful germination.
Keep the soil consistently moist, but never too wet while the seeds propagate. Keep out of direct sunlight until the first sprouts appear. Germination should occur within 7-21 days but sprouting can take up to 40 days, so be patient and don't give up on them!

PREVENT DAMPENING OFF & STRENGTHEN SEEDLINGS:
Once they sprout, we recommend giving them a gentle breeze from a fan to strengthen their stems, and/or gently brush the seedlings daily with your hands. This will prevent dampening off, a common ailment that causes seedlings to shrivel up and die. Dampening off is no joke – air circulation is super important! If you don't have a fan, you can also brush the seedlings with your hands daily helps strengthen their stems as well and grow stockier instead of thin and leggy. Often, seedlings are spindly and leggy because their is no air circulation, so using a fan and brushing them with your hands daily will help. Also, be sure to keep the light source as close as possible to the seedlings and move it up as they grow taller.
Remember: Weak or spindly seedlings doesn't necessarily mean they need more light, it could just mean you need to brush them or put a fan on them to encourage them to grow stockier and stronger. Learn more about how to fix weak pepper seedlings »
Also be sure not to overwater your seedlings!
Chile peppers dislike having wet feet. Overwatering is the number one cause of stunted growth and sickly pepper plants! If your pepper seedlings are stunted or have yellowing leaves, this is most likely the cause. Let them dry out slightly between waterings!
Once the seedlings are a little larger, transplant seedlings into 4-inch pots, with well-draining soil mix as soon as the second set of true leaves appear.
How long should you keep Pepper Seedling Lights on?
Keep the light source near the seedlings and keep the light on them for at least 10 -12 hours a day. We don't recommend 24 hour lighting, plants need rest, too!
HARDENING OFF
Do not transplant outdoors until soil temperature reaches a constant 55° F or higher, even at night. Slightly cool nighttime temperatures can stunt plants, and frosts can kill your pepper plant very easily.
Once you are ready to transplant outdoors, do so very carefully by hardening off your seedlings. A lot of first time growers take their seedlings outdoors and plant them immediately without letting them get used to the outdoor breezes, harsh rays of the sun, and temperature swings. It's simple to get them accustomed to the outdoor weather – just harden them off. This means introducing them to the outdoor environment gradually. Place the seedling pots outdoors during the day, for a couple hours the first day in the sun, then adding an hour or two each subsequent day. Do this for 10 days. On the 10th day, leave them outside in their pots overnight.
Carefully transplant into moist soil the next morning before it gets too hot. Do not let the roots dry out during transplant, which can happen very quickly if you’re not careful. Transplant the seedlings 30-36 inches apart.
Learn more about hardening off peppers »

Bonus Pepper Tip:
Pinch off any blooms before transplanting so the plants put more energy into growing.
Learn more about How to Prune Pepper Plants for Maximum Yield »
WATERING
Water the plants regularly. Give them a good long soak twice per week during dry spells. Try to keep the soil slightly moist but never muddy. Avoid overwatering! Let the soil dry out slightly between watering, as peppers dislike having soggy roots. Overhead watering will encourage mold and other plant diseases to grow, so it is best to water at the base of the plant and in the early morning. Drip irrigation on a timer is ideal.
Hand weed carefully. Add a few inches of organic mulch, like composted wood chips, straw or leaf debris. This will keep weeds down while also keeping the soil warm and moist. This is essential for growing peppers.
FERTILIZING
Peppers are light feeders, but will benefit from a regular feeding of a well-balanced, organic fertilizer or compost tea. Avoid high nitrogen fertilizers. They create lush foliage, but poor peppers.
COMPOST
Peppers love compost! Like with all vegetables, adding lots of good compost to your garden will help create better garden soil. Compost is nature's free fertilizer! Here are our tips to make your own compost for your peppers » POLLINATION
Proper pollination is key to growing successful peppers. Try to introduce bees and other beneficial insects by growing lots of flowers in your garden. Don't use pesticides! Make sure the peppers are grown in a spot with good air circulation and spaced properly.
If your pepper plants are producing flowers but not fruit, you might need to hand pollinate. Use a small, clean paintbrush and gently brush the center bud of each flower. The idea is to spread pollen from flower to flower. HARVESTING
Peppers are usually harvested at an immature stage. The traditional bell pepper, for example, is harvested green, even though most varieties will mature red, orange, or yellow. Peppers can be harvested at any stage of growth, but their flavor doesn't fully develop until maturity. This might create a dilemma for the home gardener. Frequent harvesting increases yields, but doesn’t allow enhanced pepper flavor when left to ripen on the plant.
How do you decide if a full size pepper is ready to harvest? Well, if you think the pepper is ready, then cut it off the plant and taste it. Does it taste green and bitter? Then, wait longer to harvest and taste another pepper. Does it taste good? Then this is the look you want all your peppers to have before you cut them off the plant.
Learn more about When to Pick Peppers »

HANDLING HOT PEPPERS
Always wear gloves when handling hot peppers and avoid contact with the face or eyes. The blue disposable nitrile gloves work well. Capsaicin, the oily compound that produces the heat in a hot pepper, is primarily concentrated in the veins, ribs, and seeds. Sensitivity to it varies. Use caution until you know how you’ll react. If pepper juice gets in your eyes or nose, flush immediately with cold water. When the fire is in your mouth, drink milk to counteract the burn. Burning hands means that capsaicin has penetrated skin or fingernails. Wash hands very well with plenty of soap, rinse, dry, then wait. There is no quick relief from this burn, so it’s best to just avoid it happening. After working with hot peppers, wash cutting surfaces, prep tools, and knives carefully before using them to prepare other food. Wash off counters and clean sink and faucet and everything else it has touched. Launder all clothes and towels that have come into contact with the capsaicin.
Additional Notes for
Chile Pepper Growing Success:
VARIETY
Grow a variety of peppers in your garden. Plant small early pepper varieties for quick results, and larger sweet varieties for later harvests, plus disease resistant varieties in case your garden gets a disease Of course you should always grow some peppers that you’ve never tasted or grown before for fun and new flavors!
HEIRLOOMS AND HYBRIDS
It’s a good idea to combine heirlooms and hybrids in the same garden. Heirlooms usually produce better flavored fruit, and hybrids are usually more vigorous and produce larger yields of fruit.
PLASTIC MULCH
To get an early start with your peppers, particularly in the North, cover the prepared bed with a dark colored polyethylene mulch at least a week before transplanting. This will heat the soil beneath and provide a better growing condition for young pepper plants. The mulch will also help the soil retain moisture throughout the season as the plants grow.
PEPPER PLANT COMPANIONS
If you practice this technique, try planting peppers near tomatoes, parsley, basil, squash and carrots. Don't plant peppers near fennel or kohlrabi. Learn more about Pepper Plant Companions »
STAKING
Peppers are easily damaged when laden with fruit. For support, loosely tie the plants to stakes with soft plant tape. 
BAD WEATHER
A late cold spell in spring can be deadly to pepper plants. Sheets, drop cloths, blankets and plastic sheets, or buckets make suitable covers for vulnerable plants. Use stakes, tomato cages or lawn furniture to keep material, especially plastic, from touching the foliage. Remove the coverings when temperatures rise the next day. For a short cold period, low plantings can be covered with mulch, such as straw or leaf debris.
A hail storm can quickly flatten a garden. Cover each plant with a 5 gallon bucket or something similar and add a brick on top. Be sure to uncover the plants when the danger has passed.
DON'T GIVE UP!
Whatever you do, don't give up on growing pepper seeds!
Growing chiles is easy! But we have to admit, we've caused the demise of many a pepper seedling over the years by overwatering, underwatering or other miscellaneous accidental blunders... but we always keep trying :) and learn something new every year. We're glad that you found this page with all of our top tips that we've gathered over the years for pepper growing success.
Remember, every expert was once a beginner!

STARTING PEPPER SEEDS IN WATER – HYDROPONICS
You can also start your pepper seeds using hydroponics setups like the Aerogarden. We find that the Aerogarden seed starter tray does very well starting pepper seeds, and the small sponge root pods can be planted directly outside after being hardened off, so you can save on pots, potting soil and space. Learn more about Starting Pepper Seeds in an Aerogarden »
Happy growing!

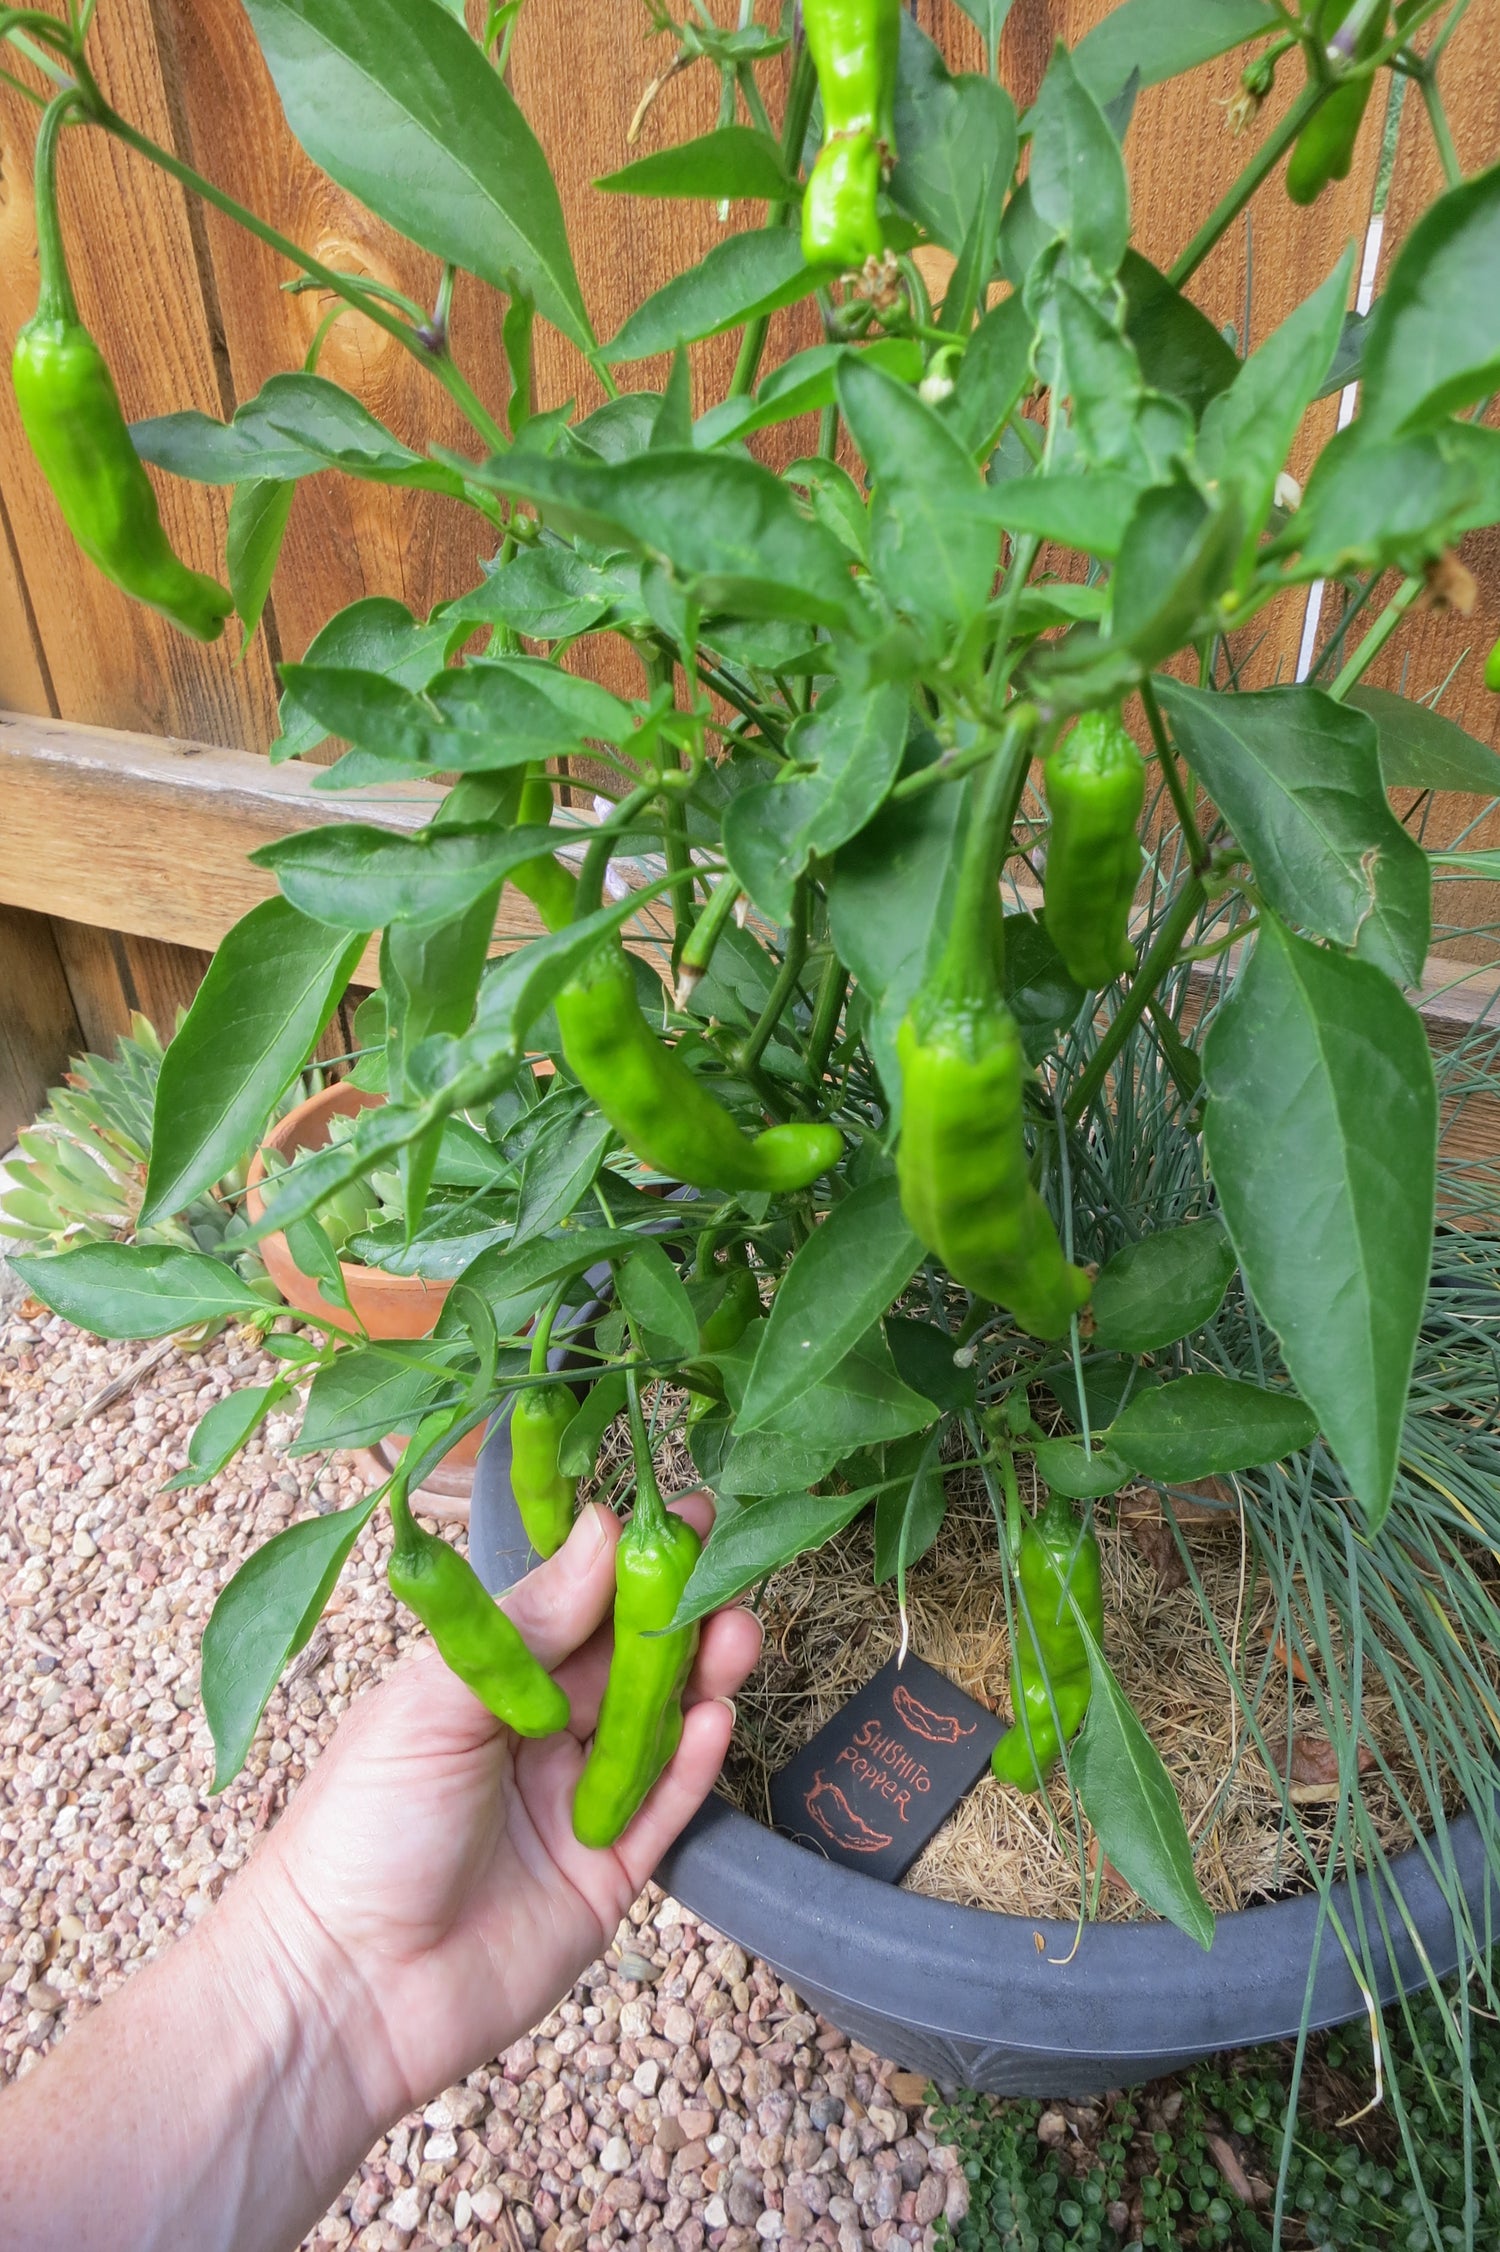
Fastest Growing Peppers
These are the fastest growing peppers that you can grow from seeds...
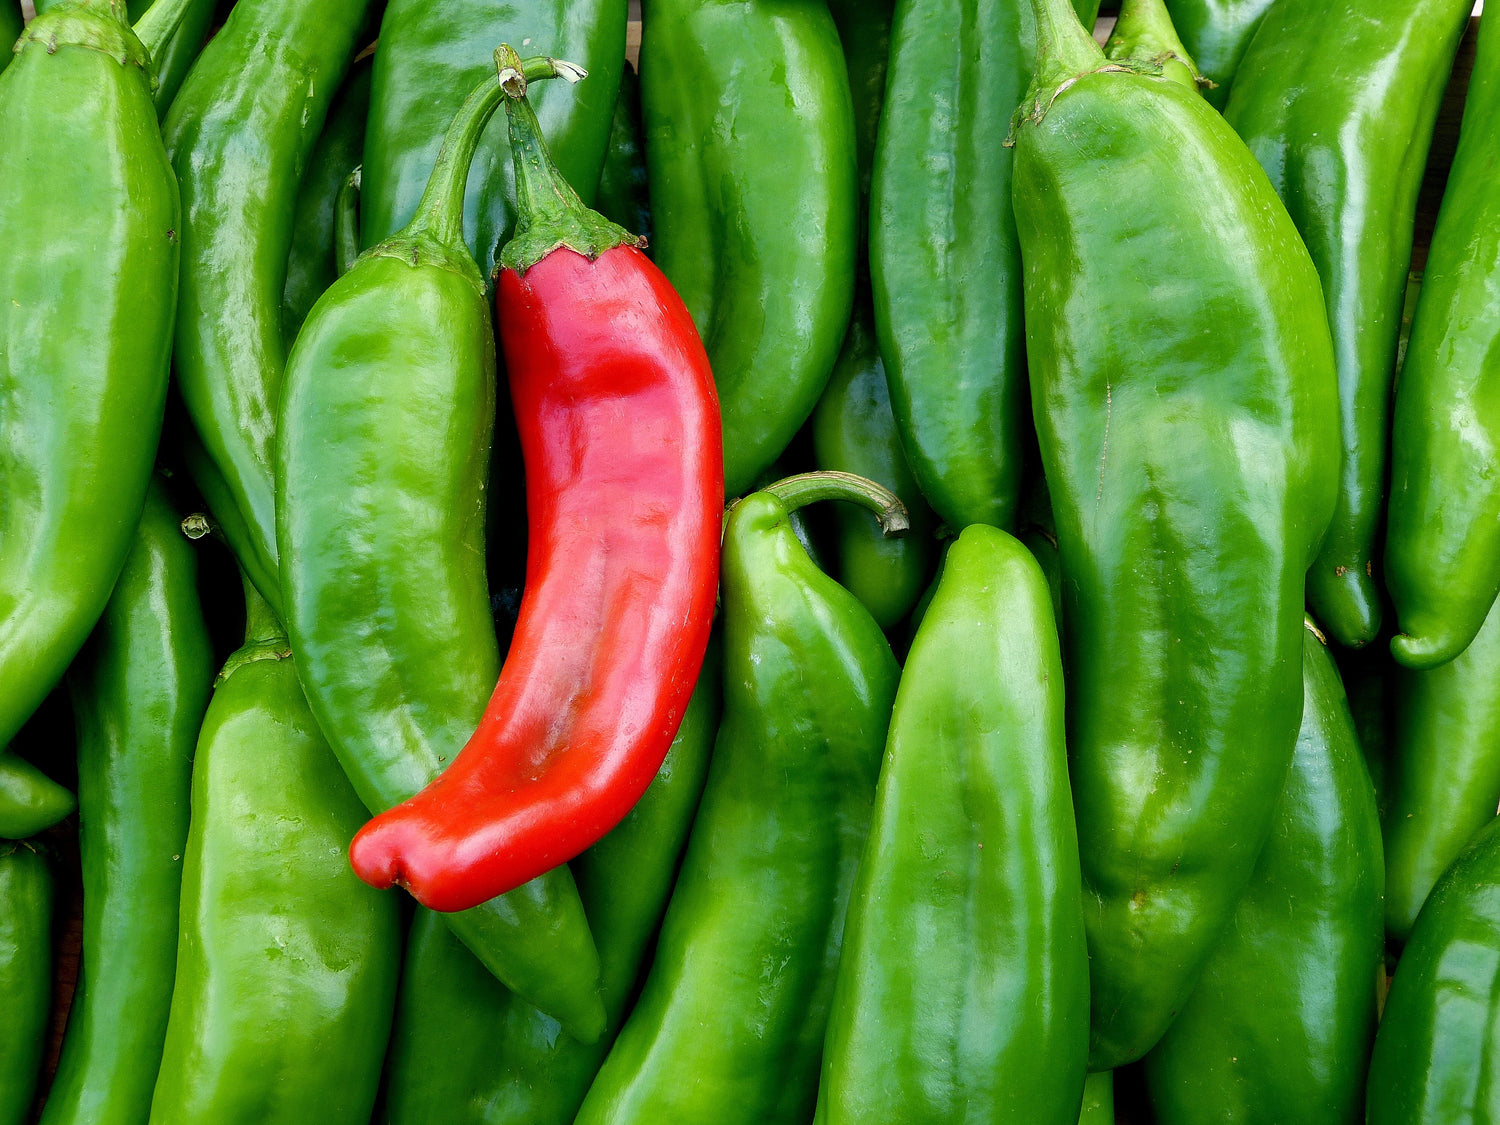
Green Chile Seeds
Sandia Seed specializes in seeds for the famous Hatch Green Chile, Poblano,...
50% OFF SEEDS
Check out our 50% off Seed Discount deals below. These seeds rotate...


